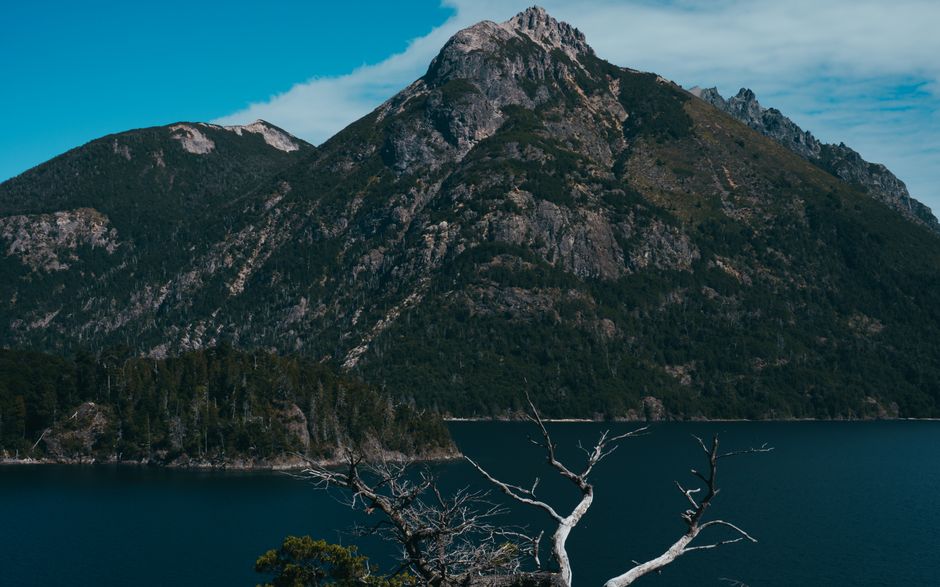
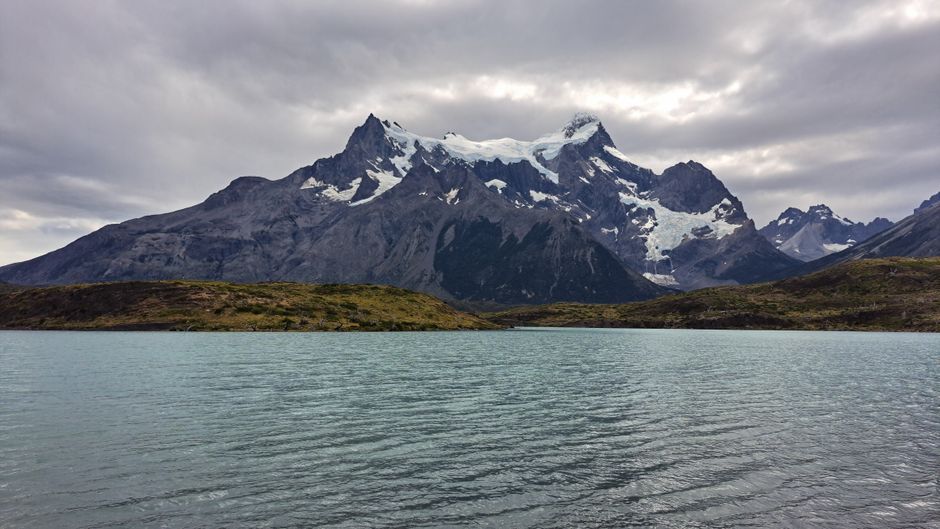
After 4 trips to Patagonia in June, July, and August — the core winter months — I can tell you one thing with confidence: most packing lists online are wrong. They list too many jackets and not enough windproof layers. They ignore the fact that Patagonia winter is wind-driven cold, not static cold. Windchill in Torres del Paine routinely hits -15°C (5°F) even when the thermometer reads -2°C (28°F).
This list is what I actually carried in a 40-liter backpack for 14 days. No fluff. No “just in case” items. Every gram has a purpose.
Why Most Patagonia Packing Lists Fail (and What to Do Instead)
The #1 mistake: people pack for the average temperature instead of the range. In a single day in Patagonia, you can wake up to frost at 7 AM, face 70 km/h winds at noon, and get rained on at 4 PM. The temperature swing is 15°C (27°F) regularly.
Standard advice fails here. A single heavy parka won’t work because you’ll overheat during any uphill section. A packable puffy alone won’t cut it because the wind cuts right through the baffles.
The fix is a 3-layer system with a specific wind barrier. Here’s the exact setup I used:
- Layer 1 (base): Icebreaker 250 merino wool top ($90, 250g/m²) — worn 10 of 14 days without washing. Merino resists odor better than synthetics.
- Layer 2 (mid): Patagonia Nano Puff hoody ($250, 60g PrimaLoft Gold insulation) — synthetic, so it insulates when wet. Down loses 90% of its loft when damp.
- Layer 3 (shell): Arc’teryx Beta AR hardshell ($600, Gore-Tex Pro 3L) — non-negotiable. The wind in Patagonia will go through a softshell like it’s not there.
Verdict: This 3-layer system handles -10°C to +10°C (14°F to 50°F) with just zipper adjustments. Cost: ~$940 total. Worth every dollar because you don’t need a second jacket.
14-Day Patagonia Winter Packing List: The Exact Items
Here’s the complete list. Every item is a specific brand and model because generic advice (“bring a warm jacket”) is useless when you’re shopping.
| Category | Item | Brand / Model | Weight (g) | Why This One |
|---|---|---|---|---|
| Base layer top | Merino crew | Icebreaker 250 | 250 | Odor resistance, 14-day wear possible |
| Base layer bottom | Merino leggings | Smartwool 250 | 200 | Same reason — no washing needed |
| Mid layer | Synthetic puffy | Patagonia Nano Puff | 350 | Insulates wet, packs to fist size |
| Shell jacket | Hardshell | Arc’teryx Beta AR | 475 | Gore-Tex Pro = windproof + breathable |
| Pants (hiking) | Softshell | Outdoor Research Ferrosi | 340 | Stretch + DWR, dries in 2 hours |
| Pants (camp) | Insulated | The North Face Thermoball Eco | 400 | 60g synthetic, worn over base layer at camp |
| Socks | Merino crew | Darn Tough Micro Crew | 60 per pair | Lifetime warranty, 3 pairs = 14 days |
| Boots | Waterproof hiker | Salomon Quest 4 GTX | 600 each | Gore-Tex + high ankle support for scree |
| Gloves | Windproof liner | Outdoor Research Wind Pro | 80 | Windstopper fabric, thin enough for dexterity |
| Hat | Merino beanie | Icebreaker Oasis | 50 | Doesn’t itch, wicks sweat |
| Neck gaiter | Merino buff | Buff Merino Wool | 40 | Pulls up over face in wind |
| Headlamp | 200+ lumens | Black Diamond Spot 400 | 90 | Winter = short daylight (8 AM – 5 PM) |
| Water bottle | Wide-mouth | Nalgene 1L | 180 | Boil water, pour in bottle = hot water bottle for sleeping bag |
| Sleeping bag | Down, -10°C rated | Mountain Hardwear Ghost Whisperer 20 | 790 | 800-fill down, compresses to 8L |
Total weight: ~5.2 kg (11.5 lbs) for the full gear list above. Add 2 kg for clothes worn on travel days. Under 8 kg total — fits in a carry-on if you’re flying into Punta Arenas.
The 2 Items 80% of Travelers Forget (and Regret)
I’ve seen this happen 3 times now. Someone arrives at Refugio Grey with a 70L pack full of gear, and they’re missing these two things:
1. Crampons (microspikes). Trails in July are ice sheets, especially Paso John Gardner and the French Valley. Without spikes, you’re sliding on polished rock. The Kahtoola MICROspikes ($70, 280g) fit any hiking boot and turn ice into solid grip. I watched a guy in $400 La Sportiva boots spend an hour crawling on his hands because he had no spikes.
2. A windproof balaclava. A neck gaiter is not enough. When wind hits 80 km/h at Laguna de los Tres, your cheeks freeze in 30 seconds. The Outdoor Research Balaclava ($40, 60g) covers your entire face except eyes. I used mine 12 out of 14 days.
These two items cost $110 total and weigh 340g. They’ll save your trip. Don’t skip them.
When to NOT Buy Expensive Gear (and What to Rent Instead)
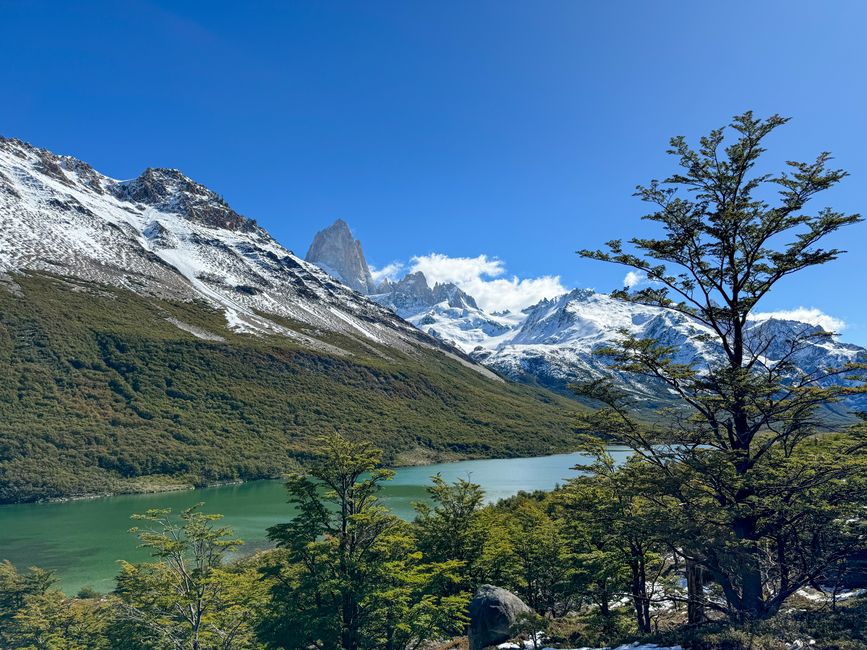
Not everyone needs a $600 Arc’teryx shell. Here’s where you can save money and still stay safe:
- Sleeping bag: Rent in Puerto Natales. Erratic Rock (Chile) rents Marmot -10°C bags for $25/week. Saves you 790g in luggage weight and $400+ in purchase cost.
- Trekking poles: Rent at the park entrance. Torres del Paine refugios rent Black Diamond poles for $10/day. Do not buy $150 poles for 2 weeks of use.
- Camping stove: Refugios have kitchens. If you’re staying in refugios (not tent camping), you don’t need a stove at all. Save the weight and the hassle with fuel canisters.
What you should NOT rent: boots, socks, or base layers. Rental boots are never broken in. You will get blisters. Bring your own footwear.
Tradeoff: Renting saves ~$500 and 1.5 kg of pack weight. The downside is you must pick up and return gear on a schedule. If you’re doing a self-guided W Trek with no town access, buy the sleeping bag.
Layering Strategy: How to Dress for Patagonia Winter (Step by Step)
Here’s the exact sequence I used every morning. No guesswork.
Step 1: Base layer (Icebreaker 250) + merino leggings. Don’t skip the leggings — even if you’re not hiking in them, you need them for camp and sleeping.
Step 2: Mid layer (Nano Puff). Put it on before leaving the refugio. If you wait until you’re cold, you lose heat fast in the wind.
Step 3: Shell jacket (Arc’teryx Beta AR). This goes on always. Even if it’s not raining, the wind is the real enemy. The shell blocks 100% of wind.
Step 4: Pants (Ferrosi softshell). If it’s raining or snowing, add rain pants over them. I used Outdoor Research Helium Rain Pants ($100, 150g) — they pack to a fist.
Step 5: Hat + balaclava + gloves. The balaclava goes under the hat. Gloves go on before your hands get cold — once they’re cold, rewarming takes 20 minutes.
If you’re hiking uphill, unzip the shell and mid layer before you start sweating. Sweat = wet base layer = cold later. I unzip 10 minutes into any climb.
Cold Weather Risk Management: What Can Actually Go Wrong
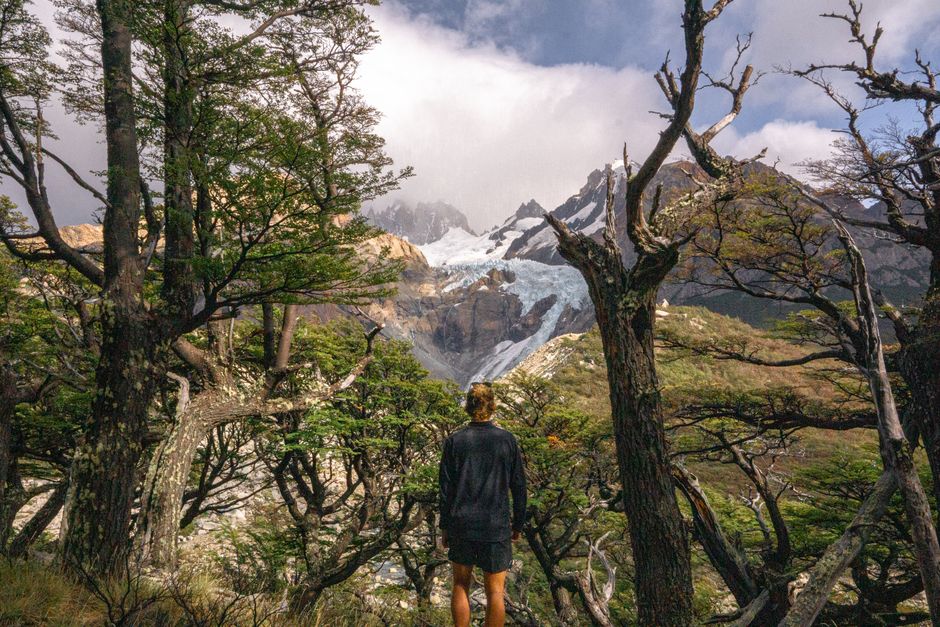
Three failure modes I’ve seen or experienced:
1. Wet down = no insulation. If you bring a down jacket (like the Mountain Hardwear Ghost Whisperer) and it gets wet from rain or sweat, it loses 90% of its warmth. A friend spent a night shivering in a refugio because his down jacket got soaked on the trail. Fix: Use synthetic insulation (Patagonia Nano Puff, The North Face Thermoball) for your mid layer. Down is fine for a sleeping bag (which stays dry in a stuff sack) but not for active wear.
2. Blisters from wet boots. Patagonia winter trails are muddy and wet. If your boots aren’t fully waterproof, your feet will be wet by lunch. Wet feet + cold = blisters within hours. Fix: Test your boots in a puddle before you leave. If they leak, apply Nikwax waterproofing or buy new ones. I use Salomon Quest 4 GTX — no leaks in 200+ km of Patagonia mud.
3. Hypothermia from wind + sweat. This is the most dangerous. If you’re hiking hard in a shell, you sweat. If you stop and the wind hits you, that sweat turns into evaporative cooling. Your core temperature can drop 3°C in 10 minutes. Fix: When you stop for a break, immediately put on the mid layer (if you took it off) and zip up the shell. Don’t sit in the wind. Find a rock or bush as a windbreak.
Bottom line: This list works because it’s built for movement in Patagonia’s specific conditions — wind, rain, and temperature swings. You don’t need 15 items. You need the right 10. Pack these, and you’ll be warm, dry, and moving fast while others are freezing in their cotton jeans and fashion parkas.